 |
| Front Panel of Gorguss Girls Birthday Book |
 |
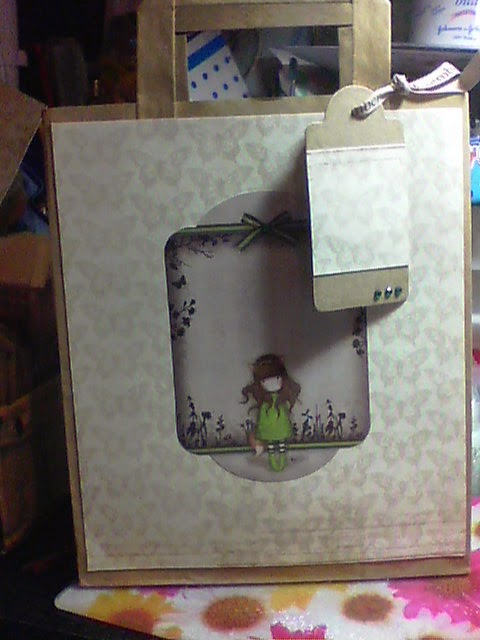
| Simply Gorjuss Gift Bag featuring "The Fox" |
 |
| Close up of "On Top of the World" stamped image |
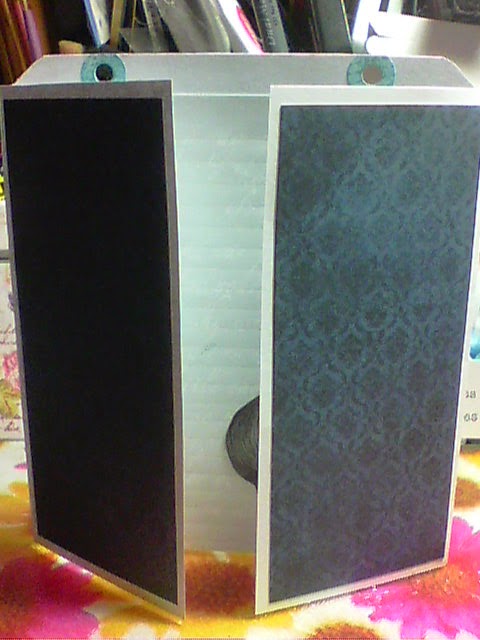
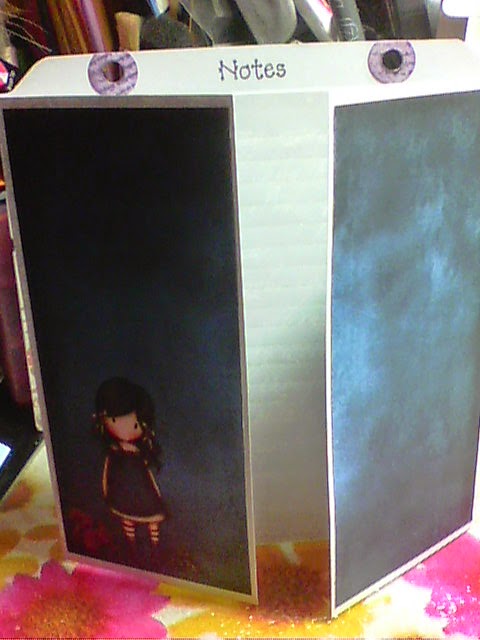
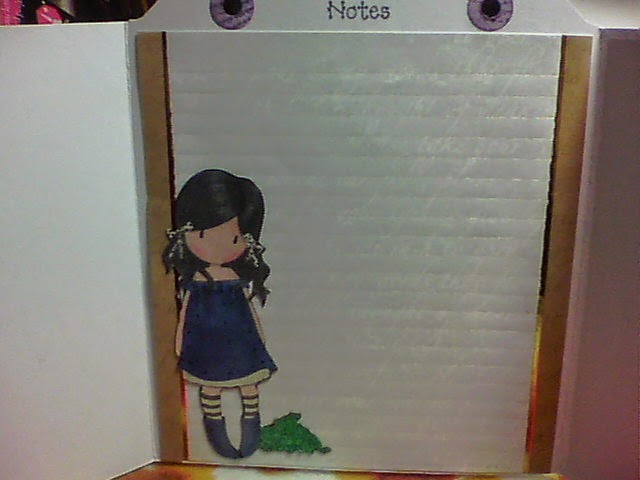
I made 14 gatefold cards out of A4 white cardstock and trimmed them down to 7" tall as I wanted the gates to be 6" by 3" and the inner panel to be 6" by 6" (ignoring the tabbed top) I used a WRMK envelope punch board to create the tab top and cut the excess card from the gates. I then used an ordinary two hole punch to punch out the holes for the Woodware book rings to go through.The hole reinforcers were plain white but I stamped over them using a script stamp and Distress inks then I blended the same ink over them once the stamped image was dry. I used Dusty Concord, Red Brick. Walnut Stain, Shabby Shutters and Tumbled Glass (I think) to stamp and blend over the various hole reinforcers. I added the altered hole reinforcers and trimmed them slightly down to size. I've had a Santoro notepaper set for absolutely years and it had 15 sheets of gold embossed paper with faded script in the background which is perfect for this project so I cut them down to size and added them to the inside of the gatefold as above. The front panels were decorated with Docrafts Santoro Simply Gorjuss 6" by 6" paper pack and were simply cut in half and trimmed slightly so that there was a small white border round each panel. I then stamped 15 Gorguss Girl stamps, coloured them in using promarkers and fussy cut round each image. I went round the images using a waterbased black marker (a black Promarker would just bleed into the image as I discovered on one of the images - I had to start again!) so the edges look more finished (think I may have missed a spot or two) and then the coloured images were added to the inner panels. To finish the gatefold "cards" I stamped the tabs with the relevant month using a calendar stamp set which I got free with Simply Homemade magazine last year and the front and back panel were stamped with notes and calendar notes. I thought these panels could be used for things like Easter which changes dates and for Christmas card lists. The front and back panel were cut to 6" by 7" and tabbed in the same way that the gatefold "cards" were but I used 350gsm hammered white cardstock instead of the 250gsm plain white cardstock that I used for the gatefolds. I decorated the front panel using more of the 6" by 6" paper and the On Top Of The World stamped image. I hand lettered some relevant book titles and "remember" on a piece of white cardstock which I stuck behind a metal book plate. I then fixed the book plate to the front page using two mini brads. Finally I added a length of "Remember" printed ribbon to one of the book rings and secured it using black waxed cord.
The paper gift bag was simply decorated using Santoro A4 butterfly paper cut to size - it's hard to tell from the photos but the butterfly paper is textured and feels like canvas. I added a Gorguss Girl Notelet (£3.00 for a pack of 12 assorted from Docrafts) to the centre, made a tag using kraft card and a Sizzix Tag#2 die and decorated with the cut off strip from the front panel then finished the whole thing off by adding some green gems (Hunkydory - total bargain from Goodwins in Bridlington at only £1.00 a pack!) and a length of printed ribbon. Because the paper bag is quite flimsy I added a sheet of kraft card cut to size to the back and a panel of mountboard to the inside of the back to reinforce the bottom.
Below are some more photos of the complete project. As always, if you have any questions please write them in the comments section and I'll get back to you ASAP. I got a birthday present from my lovely hubby today which I'll be sharing with you in the next few days, but in the meantime - keep crafting!
Love and crafty hugs,
Sarah xxxx


No comments:
Post a Comment
I value your feedback and questions about this blog so please leave me a comment - let's spread the crafty love...
Sarah xxx