Hello crafty peeps and welcome to my crafty nook! As promised I'd like to share my latest project with you, a Mother's Day card for my lovely mum-in-law Denise. I chose matching images for my Mother's Day cards this year Moreheads' "Girl" stamp for my mum and the Moreheads' "Boy" stamp for Chris's mum, so that I could make them look a bit like us as children by using different hair colours and skin tones. If I had any artistic ability I'd have hand drawn some glasses on the "Boy" stamp but I'm not going to risk ruining the card by adding them on. Actually I'm surprised Crafter's Companion didn't think to add them to the image in the first place - the stamp reminds me a bit of 'The Milky Bar Kid'.
 |
| Crafter's Companion Morehead stamp "Boy" card |
I stamped the "Boy" image onto a sheet of Image Digicolor A4 card 300gsm using Memento Tuxedo Black ink and coloured in using ProMarkers. My lovely hubby had ginger hair as a child and very pale skin so I coloured the image in accordingly. Once it was coloured in I cut it down to the required size and embossed some blue satin board (from The Works) using The Glitter Girls "The Big Screen" embossing board and ball tool. I cut the embossed shape out then embossed the various layers which I also cut out. I stuck them together as shown using Dovecraft clear 3D pearl effects (it's for making pearl embellishments but is a fantastic glue!) I used a ticket corner punch on the corners of the image and added it to the central panel of the card blank. I don't tend to use peel offs these days but thought the silver Happy Mother's Day went well with the blue satin card so added it to the top of the central panel. I punched out six flowers using Tonic's build a flower punches (each flower is made up of two petal shapes which you layer and weave together to make a new flower, I have 4 punches and the flower combinations are endless!) and added a gem to the centres then I I added them to the side panels as shown using pop glue dots. I've bend the side panels slightly forward so the card stands without needing a separate plate stand.
 |
| Close up of "Boy" topper |
 |
| Jewelled flowers on side panels |
 |
| The Wilky Bar Kid (Chris's suggestion!) |
I really enjoyed making this card though it was quite frustrating when things went wrong while embossing the card - I had to cut down one A4 sheet of card to just the white panels on the front because the washi tape I used to stick the paper to the board ripped the surface as I peeled it off. This card has made me realise how much I love my Glitter Girls Embossing Boards and I've moved them to a more accessible area in my crudy (craft/study room) so I may be making a few more in the future. I'll have an Anniversary card to share with you tomorrow but until then - keep crafting!
Love and crafty hugs,
Sarah xxx
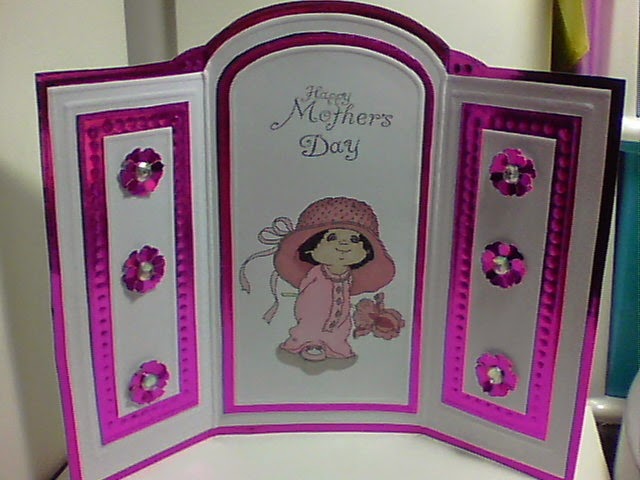
Hi everyone just a quick update, I liked making this card so much that I've made a pink "Girl" version - photos below.


No comments:
Post a Comment
I value your feedback and questions about this blog so please leave me a comment - let's spread the crafty love...
Sarah xxx