Hello crafty peeps and welcome to my crafty nook! I hope you are all well and have had a good weekend - it was very blustery here but it's calmed down now thank goodness. It's been a couple of weeks since my last post but I've not been up to a great deal craft wise. One of my niece's celebrated her 19th birthday on the 16th and my lovely crafty friend Michele sent me some gorgeous planner stamps and sticky note sets through the post which was a wonderful surprise and I'm still at the stroking and smiling stage (I can't be the only one who takes forever to use new goodies because if you use them they won't be new anymore??) and haven't used them yet though I'm 'planning' on using them soon! I made Michele a thank you card which I'll be sharing in this post. First of all let me apologise if any typos slip through, I'm writing this in the early hours of Monday and my beloved cat has decided that he can't sleep anywhere but in my arms which makes typing very challenging - still it makes a change him sleeping this close to the floor as he's taken to jumping on top of the lounge door and going to sleep up there. It would be cute if it wasn't for the fact that he's 16 years old and sleeps very deeply - the daft thing keeps going into a deep sleep then falling off the door which is rather scary and I'm terrified he's going to break something! I'm sure the only reason he goes up there is so he can look down on his inferior humans (cats rule!)
Anyway enough of high Jinx *winks* let's get back to crafting! The first card I'd like to share is the one I made for my niece. I wasn't really sure what to make her as 19 is one of those between ages if you know what I mean plus she's going to have a baby in December and a lot of the teen stamps I own just didn't seem suitable. In the end I decided to use some Forever Friends papers which included some cute cut apart images in the A5 paper pack.
 |
| Love the Rose Gold Foiling that's on the cut aparts. |
 |
| Forever Friends cut apart and backing paper with added bling |
 |
| Inside of the card with die cut Special sentiment - stamps are CC |
 |
| The back of the card featuring another of the cut apart images and a handstamped warning lol |
 |
| Envelope made with Trimcraft Pick n Mix papers and WRMK envelope punch board |
The front of the card seemed a little 'meh' so I added some Autumn sequin mix from Craft Stash, where I was a bit messy with the glue I added blobs of Dovecraft glitter glue in Rose.
Here is the Thank you card I made for the wonderful Michele.
 |
| Love this stamp set from eBay but it needs some bling! |
 |
| Blinged up using Gold paint and a very small brush! |
 |
| Isn't that a lovely sentiment? |
 |
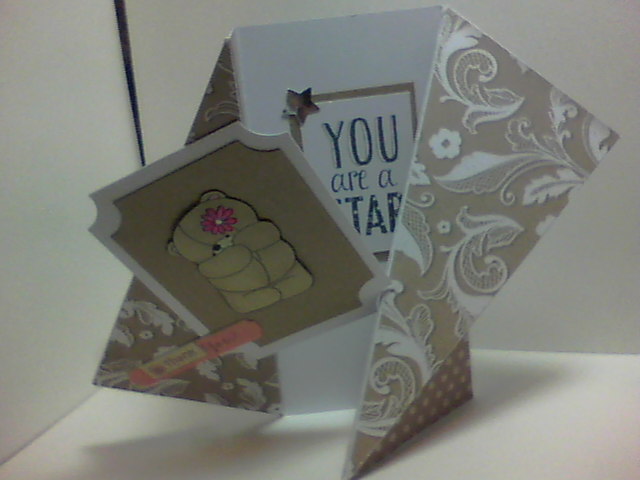
| Michele is a star so I added some to the inside |
 |
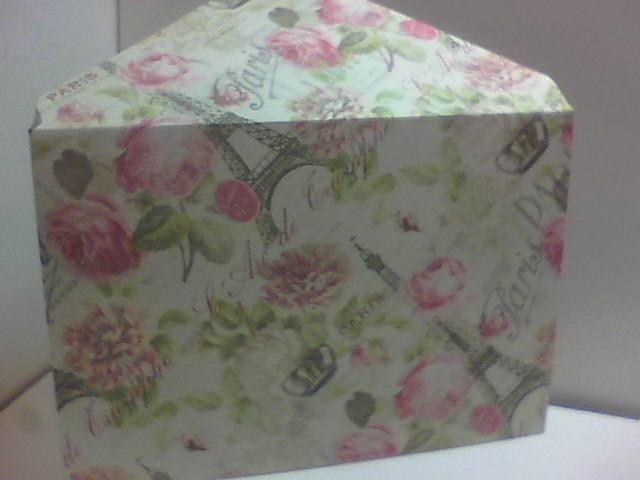
| Envelope made using the WRMK envelope punch board and Trimcraft Sweet Paris paper |
I really like the stamp set, it's an unbranded one from eBay and has some sweet sentiments with it as well as the two large floral stamps used on this card. Although it looks great just in black and white, I wanted to 'bling' it up a bit so added some highlights using Kuretake Gansai Tambi Starry Colors (sic) paints - I think I used the third from the left out the six gold paint pans. It's a very pigmented water colour and adds just the right touch of glitz to the front. I had some left on the paint brush so painted a couple of die cut scribble stars to add to the inside as shown. I stamped everything using Versafine black ink which is waterproof but more importantly, a really dark black.
I've had a bit of lovely crafty news this week but I'm not sharing it until after Christmas (aren't I a craft tease! lol) Hopefully I should have a few cards to share with you later in the week, one unfortunately is a sympathy card but the other will be a cute card for a three year old as it's my youngest niece's birthday on Friday. I may even have a few craft goodies to share as it's my birthday on Wednesday and I'm hoping for some birthday money (I've already been lucky enough to be given some from my lovely mum) I'm torn between getting some Nuvo alcohol ink pens which are exceedly cheap at Craft Stash or buying a couple of items from the new Christina Griffith Card Making Magic Collection which is gorgeous and exclusively available at Craft Stash. I've already got my present from my wonderful hubby (a new Sizzix Big Shot machine which I don't want to use until Wednesday!) and I'm very grateful for it because my old one is really hard to use (it doesn't cut through in places unless I use shims). If you have any questions or comments then please leave them in the usual places and until next time - keep crafting!
Love and crafty hugs,
Sarah xxx