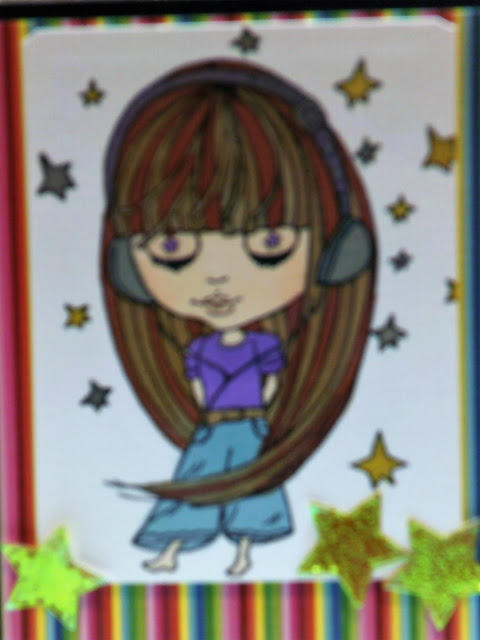
Hello crafty peeps and welcome to my crafty nook! I hope you've all had a brilliant weekend, I've not really done much to be honest apart from watch the brilliant last episode of "Hard Sun" on the BBC (Saturday), I re-tuned our topset box on Friday because a lot of the channels were out of service and Create and Craft and Hochanda have now vanished from the menu. I'm not a huge fan of either craft shopping channel but was quite nice to check out some of the new products out there which I can't do now. My lovely husband told me to make an online order up to £30 for Valentine's (isn't he lovely!) so I put some money towards it and purchased some dies and a scrapbook pad from Crafter's Companion because they had a really good offer on and double points this weekend. I only need 248 points to stay a gold member to the end of 2019 and I now rarely shop at CC so the 74 points from my order will take a big chunk out of the ones needed. Hopefully they'll have the usual double points and bonus points events too so I can spend less but remain a gold member.
I've mainly been working on the Valentine's card for my lovely husband but I have made a couple of birthday cards too. The first card I'd like to share is the one I made for my niece who turned 12 on the 6th.
The final photo may not look that exciting but it actually rips down to reveal some money that we gave our niece in addition to a pretty bracelet. I love this die as it means I can send secret messages in cards (it would be great as a reveal the sex of a new baby for example) and for sending money or gift cards without worrying about them falling out accidentally while going through the postal system - it doesn't happen very often but envelopes can get mangled in the post and this way the money etc has less chance of falling out of the envelope if it does get chewed up.
I love shaped cards and this one was easy to make thanks to an apron shaped die set I bought from eBay. I made the card front by folding a piece of card in half and carefully placing the cut line at the top of the apron above the fold line so it wouldn't cut that bit when I ran it through the die cutting machine, I then cut another complete apron piece to go over the front. The die cuts out slits where the pockets are and although it didn't cut all the way through the back piece, it did emboss a line so I covered it with a piece of star card to match the pockets on the front. The die set has lots of additional pieces as well as the main apron die including a rounded pocket die, various utensils, an oven glove (very sweet, it even embosses a pattern into the glove like the stitching on a real pair!) and even a set of salt and pepper shakers! I used a few of these to decorate the card and added a couple of stamped sentiments plus some baker's twine for the apron strings.
This is probably my favourite card and it was probably one of the quickest to make. All the dog stamps are separate even though they are meant to be a background stamp (even the partial dogs which is very strange) but that's one of the downfalls in buying cheap stamps from China. However it wasn't too difficult to actually stamp the dogs straight etc thanks to my stamping platform tool. I lined the bits of dog using the grid on the lid of the stamping platform on one side then added the rest of the dogs using the first ones as a guide to placement. Then all I had to do was ink them all up in one go and press down, repeating until I got a perfect impression - I should have done multiple prints while they we all lined up but in all honesty I'm not sure how often I'll actually be using the stamps though I love how this card turned out. I coloured all the dogs in shades of cool grey (minus cool grey 1 as it's dried out and I need a new one) and coloured the hats, bows, coats and flowers etc in a combination of burgundy. crimson and poppy promarkers. It seemed a bit bare with just the dogs on so I added some bows and bones to fill in the gaps. The bows were coloured with the crimson and poppy promarkers and the bones were filled in with clear shimmer brush pen. I edged the piece with the crimson marker to make it pop a little and added it to an A6 card front. I stamped the 'you're pawsome' greeting and die cut it out using a flagged end die and added it to the card front with some foam tape.
I hope you like my latest makes, hopefully I'll have some more cards to share in a couple of days. As always if you have any comments or questions then please leave them in the usual places and until next time - keep crafting!
Love and crafty hugs,
Sarah xxx


Gorgeous cards Sarah, I love the Scottie dog on the animal stamps-my favourite.
ReplyDeleteMichele